
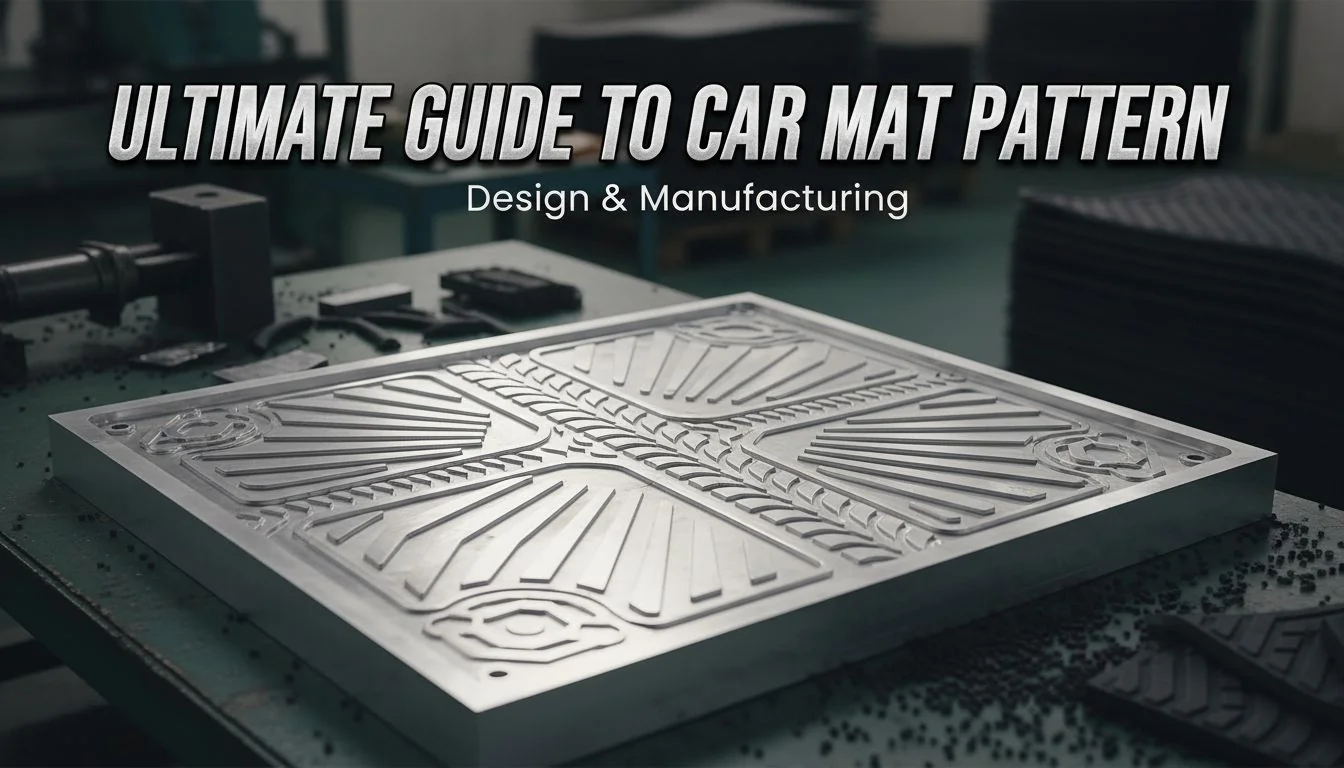
Designing car mat patterns is tricky. Poor textures ruin functionality and aesthetics, leading to unhappy customers. I will show you how to master patterns and source reliable manufacturing.
A car mat pattern[^1] is a functional surface design applied to TPE or rubber mats. It channels water, traps dirt, and prevents slipping. Technically, it is a specific grain depth and geometry etched into the injection mold steel. Customizing involves CAD design, mold texturing, and selecting the right material.
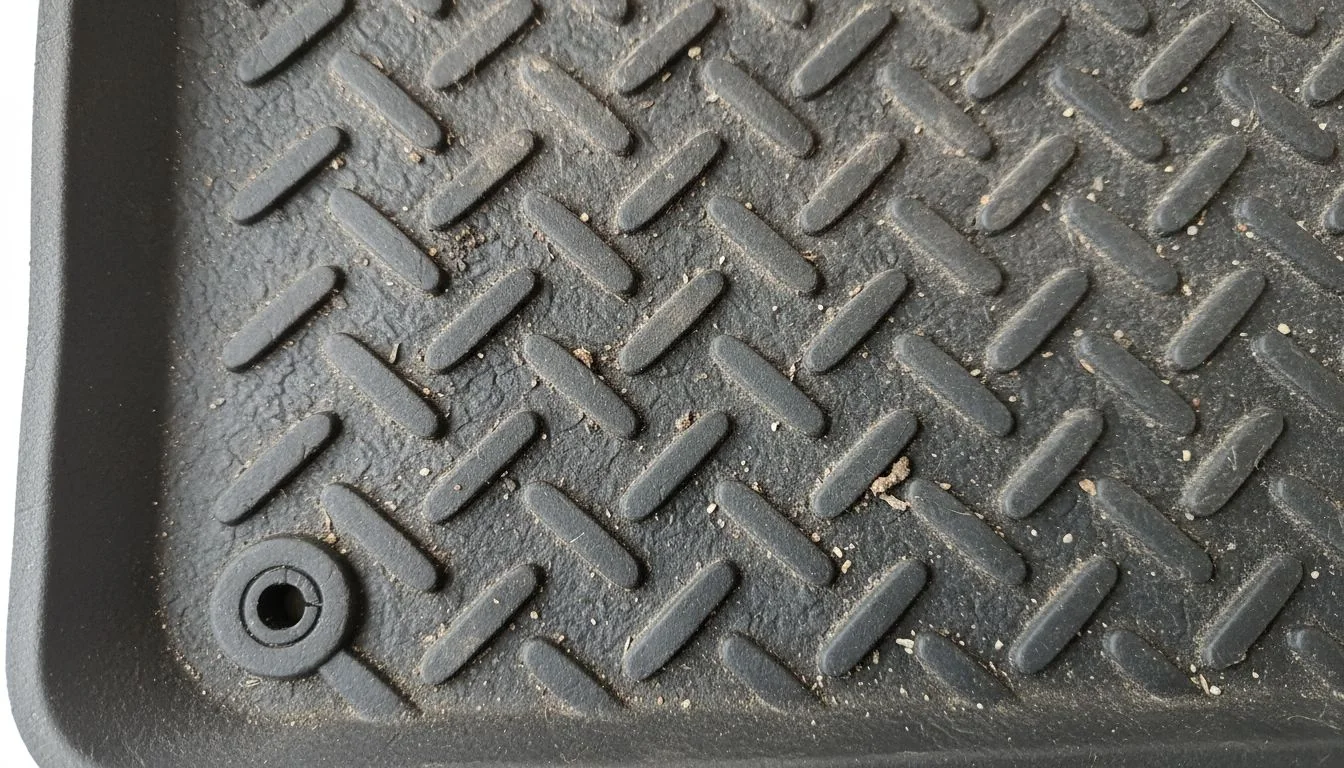
I have seen many designers struggle here. They create beautiful patterns on a screen. But these patterns fail during the molding process. The texture drags, the finish looks cheap, or the water doesn't drain. You need to bridge the gap between design and the factory floor. Let’s dive in.
Car mat patterns are purely for aesthetic purposes.False
Patterns provide essential grip, water channeling, and dirt trapping functionality.
Draft angles are critical for textured surfaces.True
Without proper draft angles, the texture will drag against the mold steel during ejection, ruining the part.
What Exactly Is a Car Mat Pattern and Why Does It Matter?
You ignore the floor, but your customers don't. Slippery mats are dangerous and look cheap. You need to understand the technical side of surface textures to ensure safety.
A car mat pattern consists of raised ribs, channels, and micro-textures. It serves two main roles: safety and style. The macro-pattern holds fluids, while the micro-texture provides friction. In mold design, this requires precise chemical etching[^2] or laser ablation on the cavity steel.
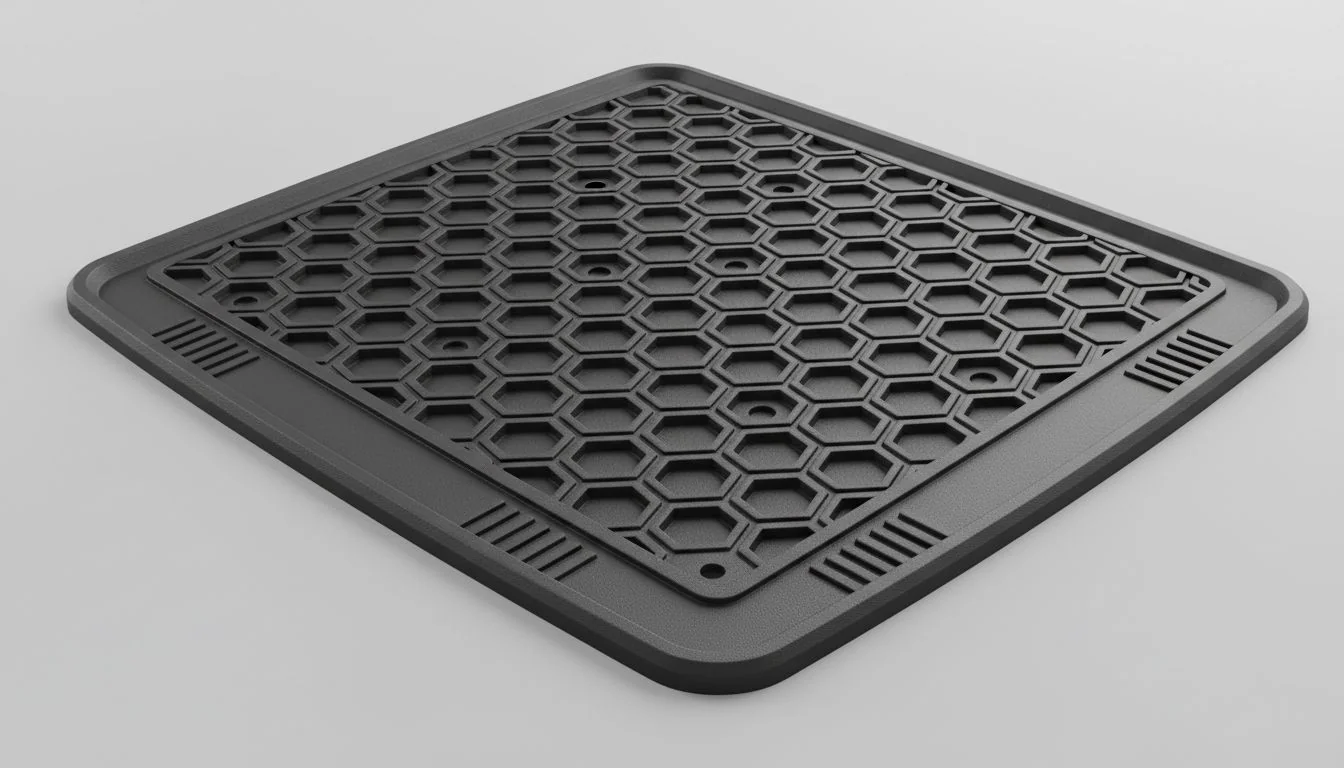
When I started in the mold industry, I thought patterns were just drawings. I was wrong. For a designer like you, a pattern is a complex interaction between geometry and physics. You must consider the "Macro" and the "Micro." The Macro is the large shape—the diamonds or honeycombs that hold water. The Micro is the grain on top of those shapes that stops shoes from sliding.
The Engineering Behind the Look
You cannot just wrap a texture over a 3D surface in CAD and send it to print. You must calculate the draft angle. This is the biggest challenge I see. If you want a deep leather texture (VDI 3400 Ref 45), you need a larger draft angle than a light sandblast finish. If the angle is too small, the plastic sticks to the steel. The part comes out with white stress marks or "drag marks."
Chemical Etching vs. Laser Texturing
There are two ways to put your pattern on the mold.
- Chemical Etching: This is the traditional way. We mask the steel and use acid to eat away the metal. It is cheaper but has limits. You cannot get sharp geometric lines easily.
- laser texturing[^3]: This is the modern standard. A 5-axis laser burns the pattern directly. It is precise. You can create complex, multi-layer geometric patterns that look futuristic.
Here is a breakdown of pattern types and their mold requirements[^4]:
| Pattern Type | Function | Mold Requirement | Draft Angle Needed |
|---|---|---|---|
| Deep Channels | Water Retention | High ribs, deep EDM work | > 3 Degrees |
| Micro-Grain | Anti-Slip | Chemical Etching / Sandblast | 1.5 - 2 Degrees |
| Geometric 3D | Aesthetic/Grip | 5-Axis Laser Texturing | Variable (High) |
| High Gloss | Aesthetic Trim | Diamond Polishing | 1 Degree |
Laser texturing allows for more complex geometries than chemical etching.True
Lasers can ablate steel in 3D layers, allowing for patterns that acid etching cannot achieve.
You can use zero draft angle if the texture is light enough.False
Even light textures require some draft (usually at least 1 degree) to release from the mold without scuffing.
How Do You Custom Pattern from a China Manufacturer in Bulk?
Sourcing from China can feel like gambling. You fear low-quality steel or poor communication. I will guide you to find the right partner who understands your design intent.
To customize patterns in bulk, send 3D files (STEP/IGES) to manufacturers specializing in automotive molds. Verify their texturing capabilities, specifically if they use laser etching for complex geometries. Request sample plaques before cutting the full tool to ensure the grain matches your vision.
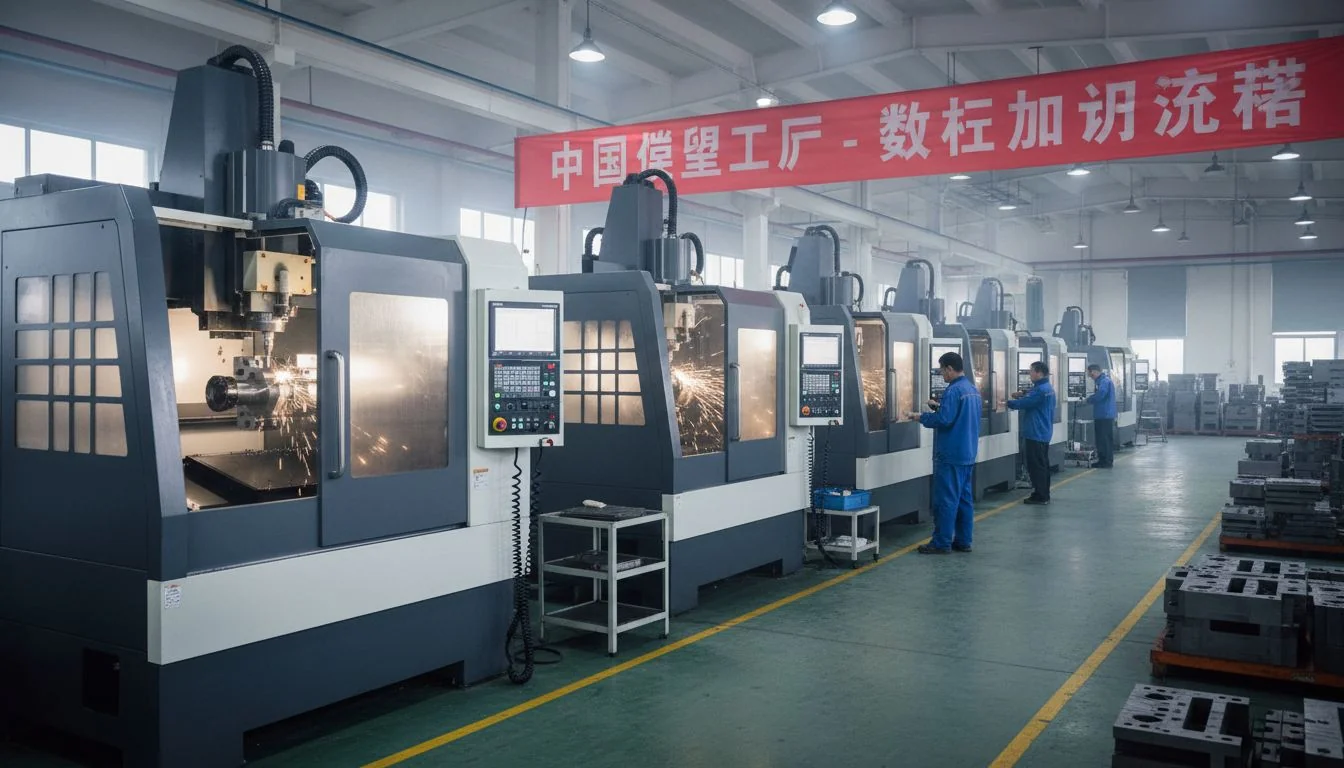
I have helped many clients navigate this. Finding a supplier is easy. Finding a partner is hard. You are designing for consumer electronics and high-end products. You expect precision. Many factories in China are volume-focused, not quality-focused. You need to filter them.
Vetting the Manufacturer
Do not just look at their website. Ask for their equipment list. This is my top tip. If you want a complex geometric pattern, ask: "Do you have in-house laser texturing, or do you outsource it?" If they outsource, you lose control over the timeline and quality. Look for factories that have 5-axis CNC machines (like DMG MORI or Makino). This shows they invest in high-end tech.
The Design Transfer Process
When you send your design, do not just send the file. Send a "texture map[^5]." This is a PDF showing exactly which surfaces get which texture. Use industry standards like Mold-Tech (MT) or VDI numbers. For example, say "Surface A requires MT-11010." This removes ambiguity.
Here is a checklist I use when helping clients source molds:
| Step | Action Item | Why it Matters |
|---|---|---|
| 1. Inquiry | Send STEP file + Texture Map | Defines scope clearly. |
| 2. DFM Review | Request "Design for Manufacturing" report | Checks if your pattern has enough draft. |
| 3. Steel Selection | Specify P20 or 718H steel | Harder steel holds texture better over time. |
| 4. Sampling | Request a texture plaque | Verifies the look before touching the main mold. |
| 5. T1 Test | Inspect the first shot | Checks for drag marks and flow lines. |
All mold factories in China have in-house texturing capabilities.False
Most factories outsource texturing to specialized shops. Knowing this helps you manage lead times.
Specifying standard texture codes (like VDI or MT) reduces errors.True
Using universal standards ensures the factory knows exactly what surface finish you expect.
How Do You Control Quality During Production?
Inconsistent textures kill your brand reputation. You cannot afford rejected shipments due to poor finishing. You must implement strict quality control[^6] protocols immediately.
Quality control starts with the T1 sample. Check for drag marks, gloss consistency, and pattern depth using a depth gauge. Ensure the material flow does not distort the pattern. Establish a "Golden Sample[^7]" for all future bulk production comparison.
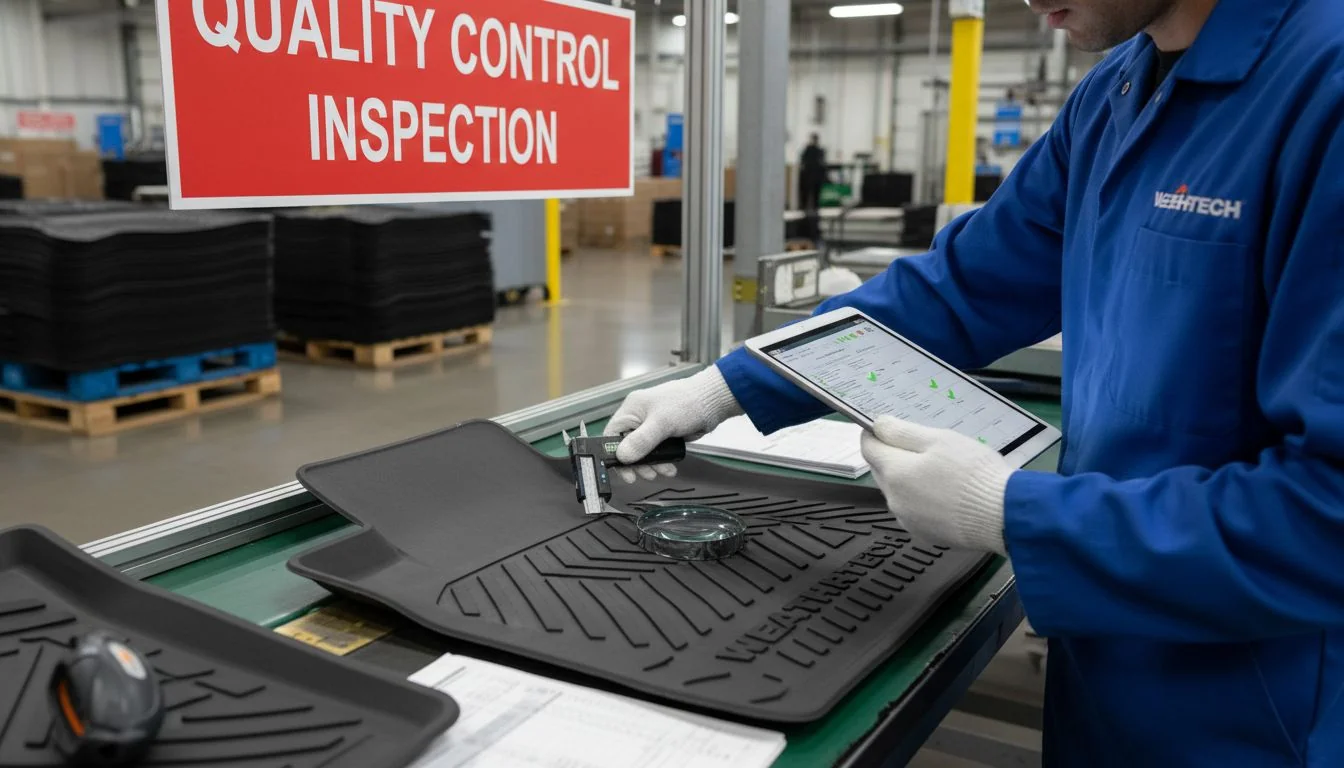
Quality control is not just looking at the part. It is measuring it. In my experience, the biggest issue with car mat patterns is "washout." This happens when the injection pressure is too high, or the plastic is too hot. The texture looks melted near the injection gate.
Identifying Common Defects
You need to know what to look for.
- Drag Marks: Scratches on the side of the ribs. This means the draft angle is too small or the texture is too deep.
- Flow Marks: Wavy lines in the pattern. This happens when the material cools down too fast as it flows over the texture.
- Flash: Extra plastic on the edges. This ruins the clean look of your pattern.
The Golden Sample Rule
Once you receive a sample that is perfect, sign it. Date it. This is your "Golden Sample." Send one back to the factory and keep one. Every future shipment must match this sample. If the texture on the new batch looks shiny compared to the Golden Sample, the mold might be dirty or worn out.
Here is how to troubleshoot common texture issues:
| Defect | Cause | Solution |
|---|---|---|
| Texture Drag | Draft angle too small | Polish the draft or reduce texture depth. |
| Shiny Spots | Trapped gas or low pressure | Add venting to the mold. |
| Pattern Distortion | Ejection stress | Add more ejector pins or cool the part longer. |
| Inconsistent Grain | Poor repair work | Re-etch the specific area (difficult). |
T1 samples are usually perfect and ready for production.False
T1 samples almost always require adjustments for dimensions, texture, or cycle time.
Texture depth can affect the cycle time of production.True
Deep textures require more force to eject, potentially requiring longer cooling times to prevent warping.
Ipari
Mastering car mat patterns requires design precision and smart sourcing. Focus on draft angles[^8], choose the right Chinese partner with advanced equipment, and enforce strict QC. Master molding right.
References
[^1]: Understanding car mat patterns is crucial for ensuring safety and functionality in automotive design.
[^2]: Chemical etching is a traditional method that offers cost-effective solutions for simpler designs.
[^3]: Laser texturing allows for intricate designs and precision that chemical etching cannot achieve.
[^4]: Understanding mold requirements is vital for achieving desired texture and functionality in mats.
[^5]: A texture map clarifies design intent, reducing ambiguity in manufacturing processes.
[^6]: Implementing strict quality control ensures consistency and maintains brand reputation in production.
[^7]: A Golden Sample serves as a benchmark for quality, ensuring all future products meet standards.
[^8]: Draft angles prevent texture drag and ensure smooth ejection from molds, crucial for quality.