
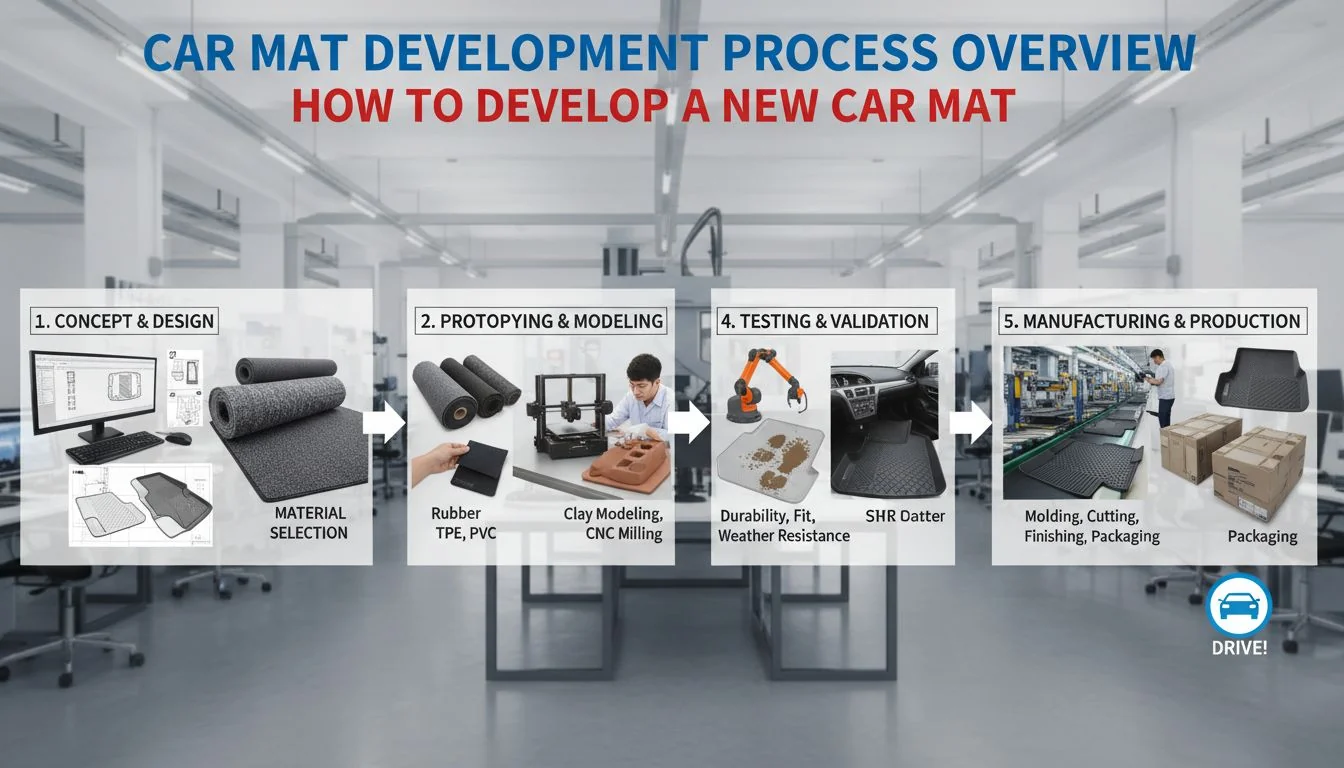
You want to launch a custom car mat line, but the manufacturing process feels overwhelming. Don't worry, I will guide you through every step to ensure your success.
Developing a new car mat involves selecting the right material (like TPE or PVC[^1]), designing a custom mold based on 3D scanning data, and defining branding elements like logos and colors. You must coordinate with a manufacturer for mold creation, sampling, and bulk production to ensure precise fitment.
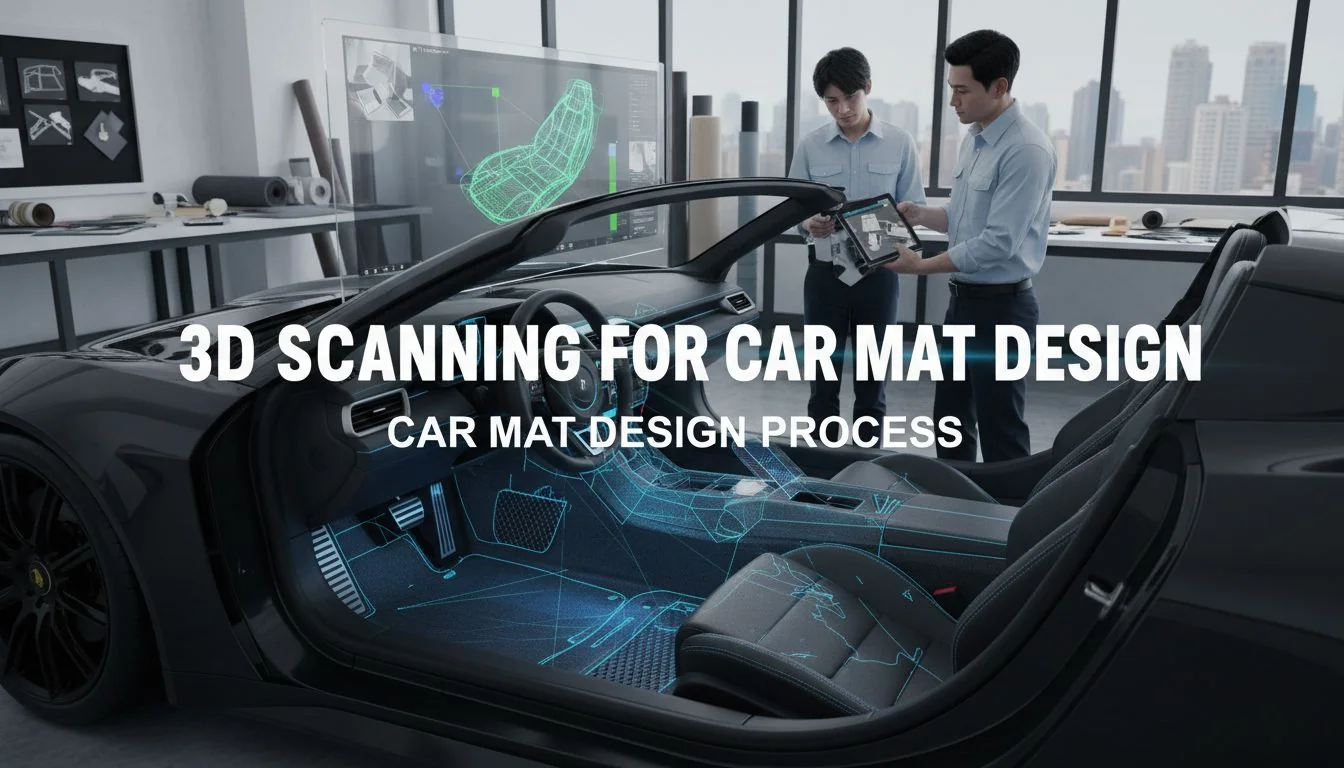
Many designers struggle with the transition from concept to mass production. I have seen great designs fail because of poor communication with factories. In this guide, I will break down the technical details you need to know.
You can use any plastic material for car mats.False
Car mats require specific materials like TPE or PVC for durability and flexibility.
3D scanning is essential for accurate car mat fitment.True
Without 3D scanning the vehicle floor, achieving a perfect fit is nearly impossible.
How to make a logo?
Branding is crucial, but you might not know how to apply it to rubber or plastic. Here is how we integrate logos into the mold design.
You can incorporate logos directly into the mold tooling for a permanent embossed or debossed effect. Alternatively, you can use separate metal badges or clips that attach to the mat after molding. Mold-integrated logos are more durable, while badges offer a premium look.
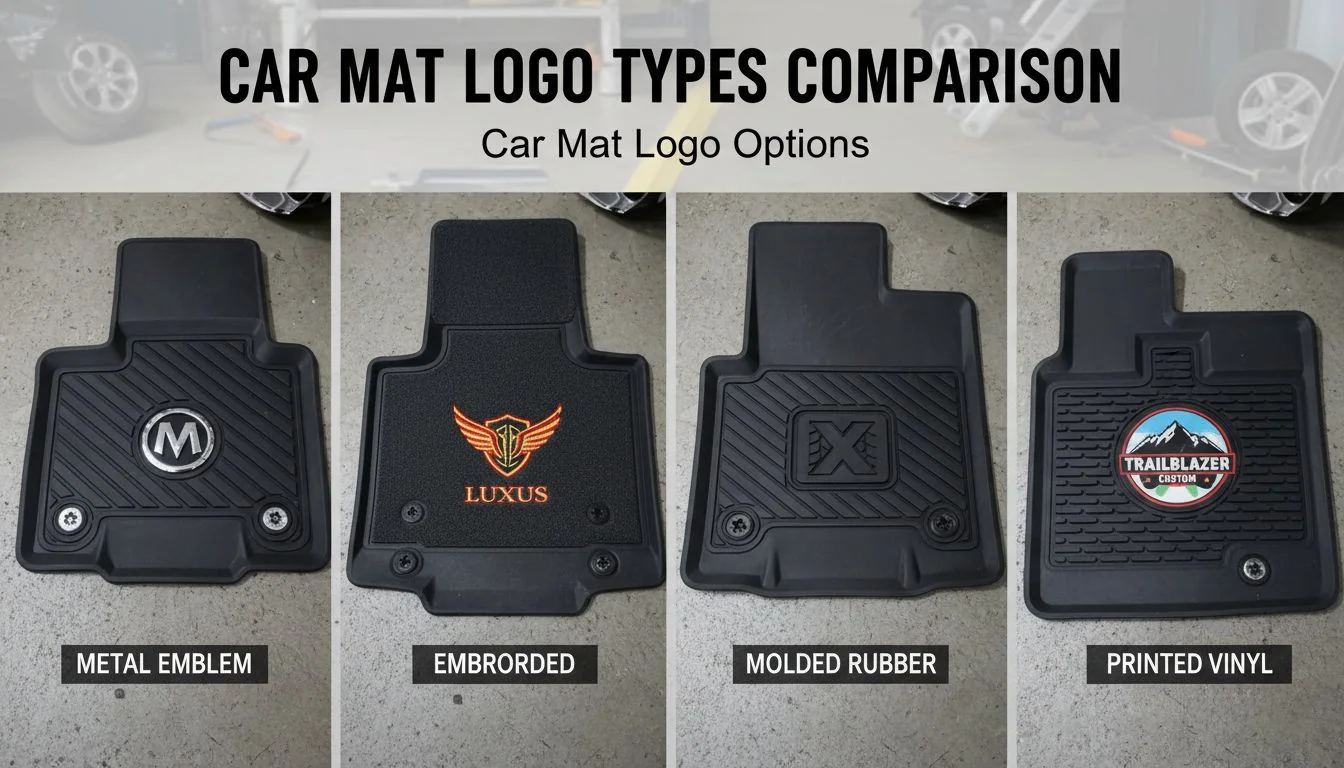
When we design a mold for a car mat, the logo is a critical detail. As a designer, you have a few choices. The most common method is to cut the logo directly into the steel of the mold. This creates an embossed (raised) or debossed (sunken) logo on the final plastic part. This is cost-effective because you do not need to buy extra parts later.
However, there is a challenge. If you want to change the logo later, you have to modify the mold, which is expensive. A smart solution I often use is an "interchangeable insert." We cut a pocket in the main mold and place a separate piece of steel there with the logo. If you want to change the brand name, we just swap that small piece of steel.
Another option is using a badge. You mold two small holes in the mat, and then you clip a metal or plastic badge onto it after production. This looks very high-end, similar to luxury car brands.
Comparison of Logo Methods
| Method | Cost | Durability | Flexibility |
|---|---|---|---|
| Direct Tooling | Low (included in mold) | High (permanent) | Low (hard to change) |
| Interchangeable Insert | Medium (extra machining) | High | High (can swap inserts) |
| External Badge | High (part cost + labor) | Medium (can detach) | High (easy to change) |
Interchangeable inserts allow you to change logos without making a new mold.True
By swapping a small steel block in the mold, you can change the branding easily.
External badges are the cheapest option for logos.False
External badges add material costs and assembly labor, making them more expensive per unit.
How to bulk custom from manufacturer?
Finding a reliable factory is hard. You fear quality issues and delayed shipments. I will show you how to streamline the ordering process.
To bulk custom effectively, provide the manufacturer with 3D CAD files (STEP or IGS) and specify material requirements like TPE density. Request a pre-production sample to verify fitment in the actual vehicle. Companies like Matjoy have experts to guide this specific workflow.
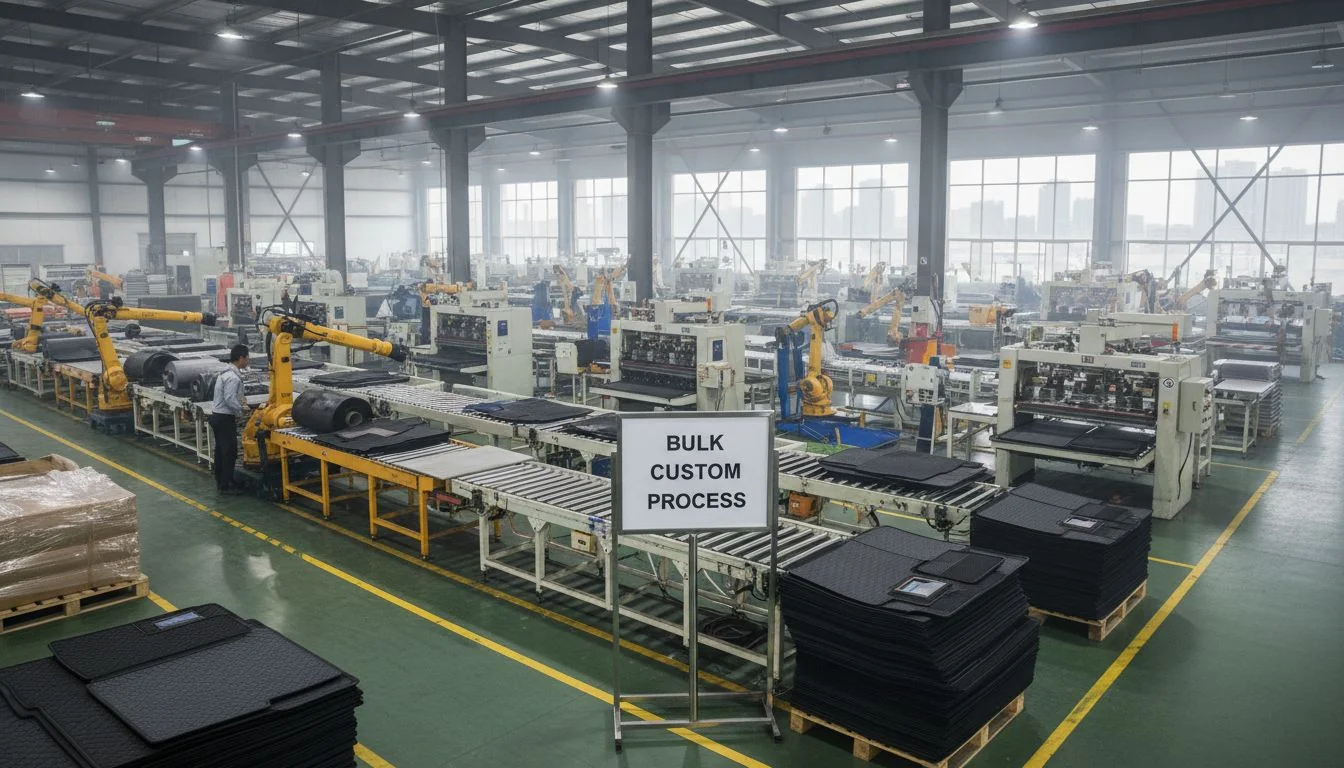
When you are ready to order in bulk, communication is everything. I have learned that factories need very specific instructions. You cannot just say "I want a good car mat." You need to provide the technical package. This includes your 3D drawing, usually in STP or X_T format.
If you choose to custom from Matjoy, our experienced sales experts will guide you professionally. They understand that you need to define the material hardness. For TPE mats, we usually look for a hardness between 65 اور 75 Shore A. If it is too hard, it feels like cheap plastic. If it is too soft, it wears out too fast.
You also need to discuss the texture. The surface of the mold needs texturing (often called biting) to prevent the mat from being slippery. When you place a bulk order, always ask for a "T1 sample" first. This is the first test shot from the mold. Do not approve mass production until you fit this sample in a real car.
Key Steps for Bulk Ordering
- Submit CAD Data: Send final 3D files.
- Define Specs: Material type, hardness, and weight.
- Approve Sample: Test the T1 sample in the vehicle.
- Production: Authorize the full run.
You should approve mass production based on the 3D design alone.False
You must test a physical sample in the real car to ensure the fit is correct.
Specifying material hardness is important for product feel.True
Hardness determines if the mat feels premium or cheap and affects durability.
How to pack?
Shipping air is expensive. You need packaging that protects the product but minimizes volume. Let's look at the best packing strategies.
Car mats are large, so packing them flat is costly. The best method is often rolling them into cartons or using a hanger system for retail display. For bulk shipping, nesting them together in a master carton reduces volume and shipping costs significantly.
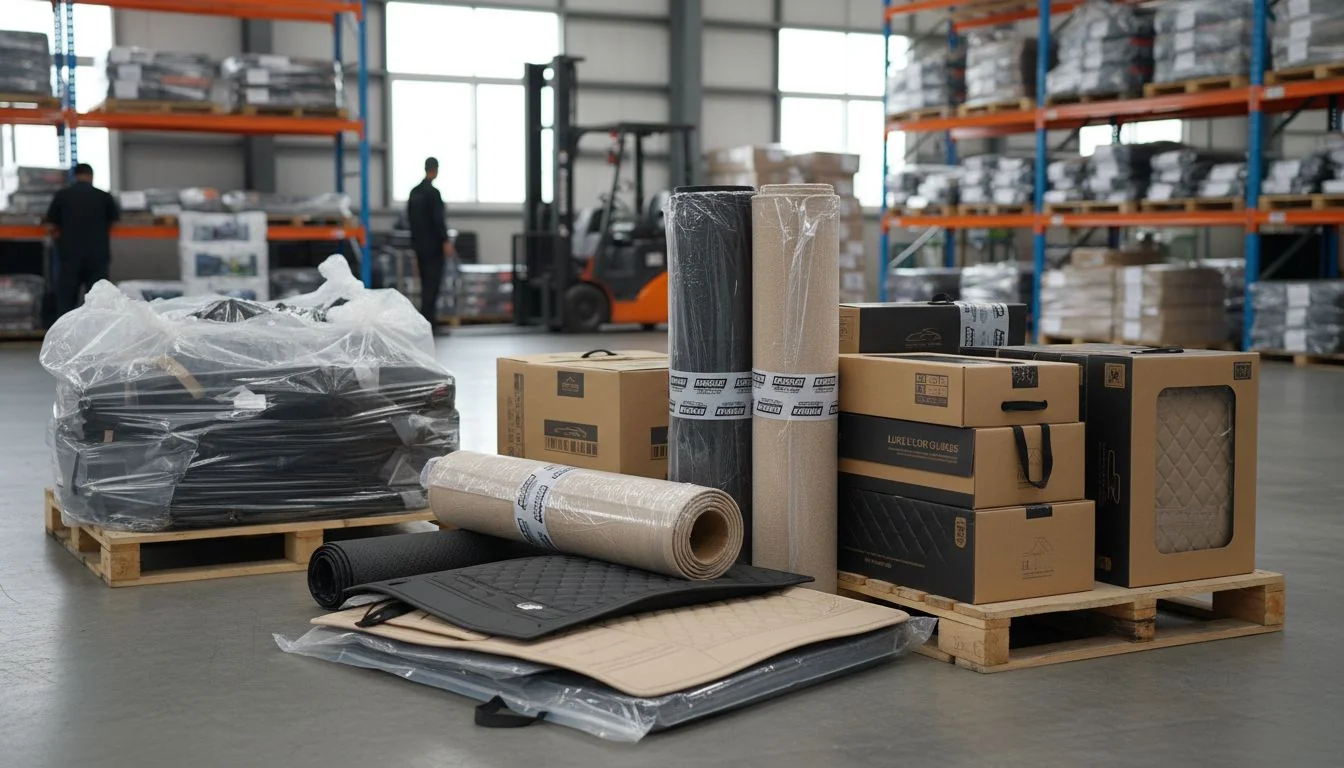
Packaging is often an afterthought for designers, but it affects your profit margin. Car mats are big and awkward shapes. If you ship them flat, the box is huge, and you pay for "dimensional weight" rather than actual weight.
For TPE mats, we can often roll them. TPE has memory, meaning it will return to its original shape after you unroll it. However, you must be careful. If you roll them too tight and leave them in a hot container for a month, they might deform permanently.
For retail, I suggest a hanger card. This is a piece of cardboard attached to the top of the mat so it can hang on a rack. For online sales, a compact rectangular box is best. We often fold the rear mat and place the front mats on top.
Packaging Considerations
- Nesting: Stack mats directly on top of each other to save space.
- Protection: Use a thin PE bag to prevent dust and scratches.
- Deformation: Do not fold sharp corners; use a large radius if rolling is necessary.
TPE mats can never be rolled.False
TPE is flexible and can be rolled, but it should not be compressed too tightly for long periods.
Nesting mats reduces shipping volume.True
Stacking mats closely together removes empty space, lowering shipping costs.
How many colours could choose?
You want variety, but you are unsure about the limitations of injection molding. Here is the truth about color selection[^2] in mass production.
Technically, you can choose any color found in the Pantone Matching System (PMS). However, manufacturers usually limit standard stock colors to black, gray, and beige. Custom colors often require a higher Minimum Order Quantity (MOQ) to justify the masterbatch[^3] mixing process.
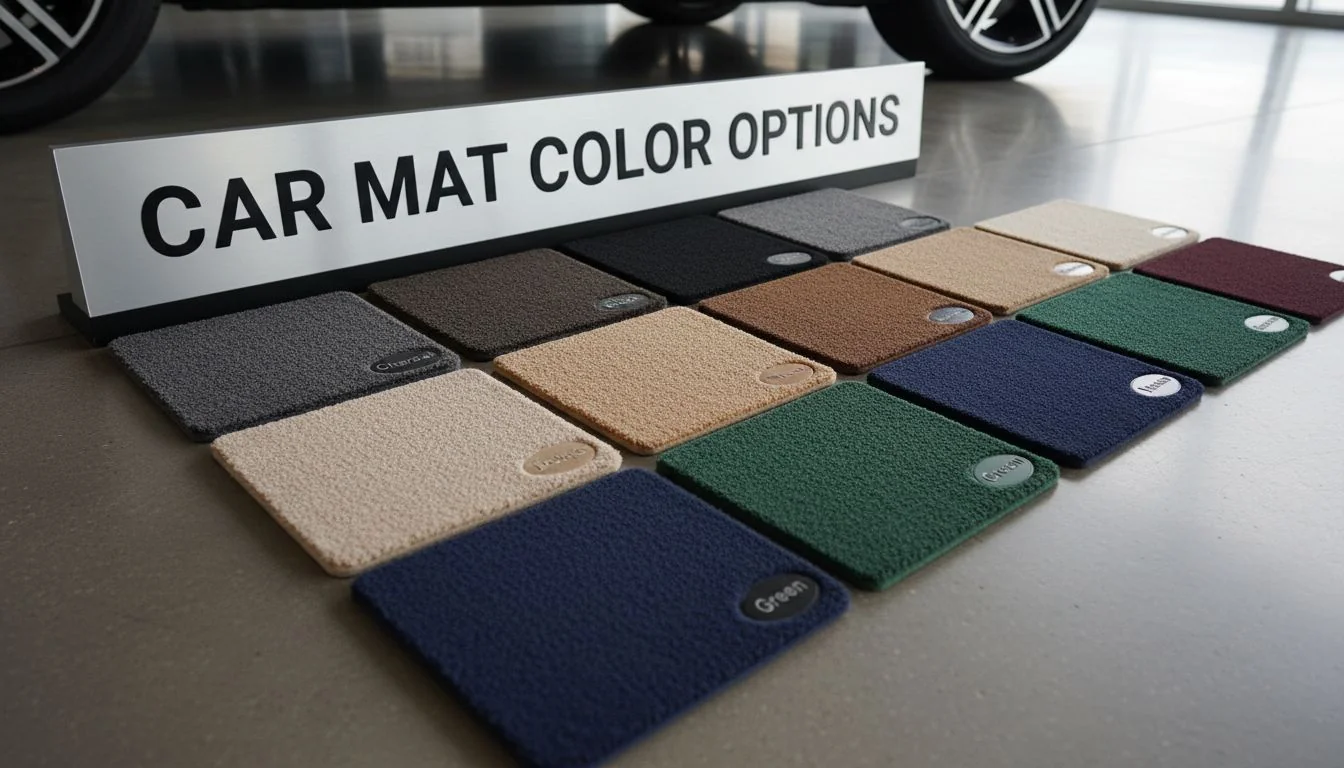
As a designer, you might want a bright red or a deep blue mat. In the world of plastic molding, anything is possible, but everything has a price. The standard colors in the car industry are Black, Grey, and Beige (Tan). Factories keep these raw materials in stock.
If you want a custom color, we have to mix a specific recipe. This involves cleaning the injection molding machine completely. If there is any black residue left in the screw of the machine, it will ruin your nice beige mat. This cleaning process takes time and wastes material.
That is why factories ask for a high MOQ (Minimum Order Quantity) for special colors. Usually, you need to order at least 500 or 1000 sets for a custom color. If you stick to black, you can often order smaller amounts.
Color Selection Strategy
- Standard Black: Lowest cost, lowest MOQ, hides dirt best.
- Standard Beige/Grey: Matches car interiors, medium MOQ.
- Custom Color: High cost, high MOQ, unique branding.
Factories always have every color of plastic in stock.False
Factories usually only stock black, grey, and beige; other colors must be custom mixed.
Changing colors requires cleaning the molding machine.True
The machine must be purged of old color to prevent contamination.
How to make colours?
Getting the exact shade of beige to match a luxury car interior is tricky. I will explain the science behind color matching.
Manufacturers create colors by mixing raw plastic pellets with a specific "masterbatch" or pigment formula. You must provide a physical sample or a Pantone code. The factory will then create a color chip for your approval before running the full production line.
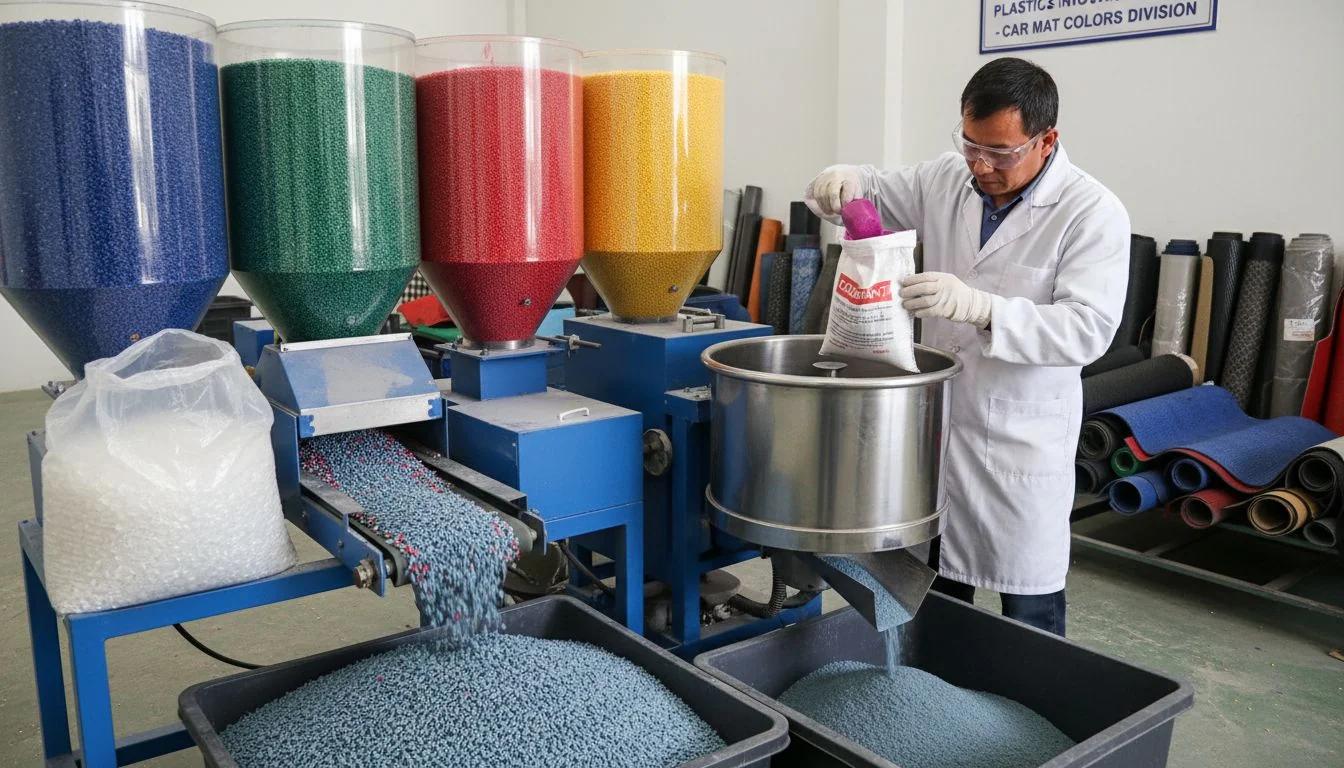
Making the color is a chemical process. We start with the base material, which is usually clear or natural white TPE pellets. Then, we add "Masterbatch." Masterbatch is a concentrated mixture of pigments.
Think of it like baking a cake. The TPE is the flour, and the masterbatch is the food coloring. We mix them in a hopper before they go into the heating barrel. The screw inside the machine melts and mixes them together.
To get the color right, you need to give the factory a standard. A Pantone code is good, but a physical sample is better. Different materials reflect light differently. A beige on a piece of paper looks different than beige on a textured rubber mat. We use a light box to check the color under different light sources (like daylight vs. store light) to ensure it matches.
The Color Matching Process
- Client Request: You send a Pantone code or physical sample.
- Lab Dip: The factory mixes a small amount to test.
- Color Chip: A small plastic square is sent to you.
- Approval: You sign off on the chip.
- Production: We mix the masterbatch for the full order.
A Pantone code guarantees a perfect match on plastic.False
Plastic texture and material type affect how color looks, so a physical sample is better.
Masterbatch is used to color the raw plastic.True
Concentrated pigment pellets are mixed with raw material to create the final color.
How to create a new mould?
This is the most expensive part of the project. You cannot afford mistakes here. Let's walk through the mold creation process step by step.
Creating a new mold starts with 3D scanning[^4] the car floor to get point cloud data. Designers convert this into a CAD surface model. CNC machines then cut the mold from steel blocks (like P20 or 718 سٹیل). Finally, the mold is polished and textured.
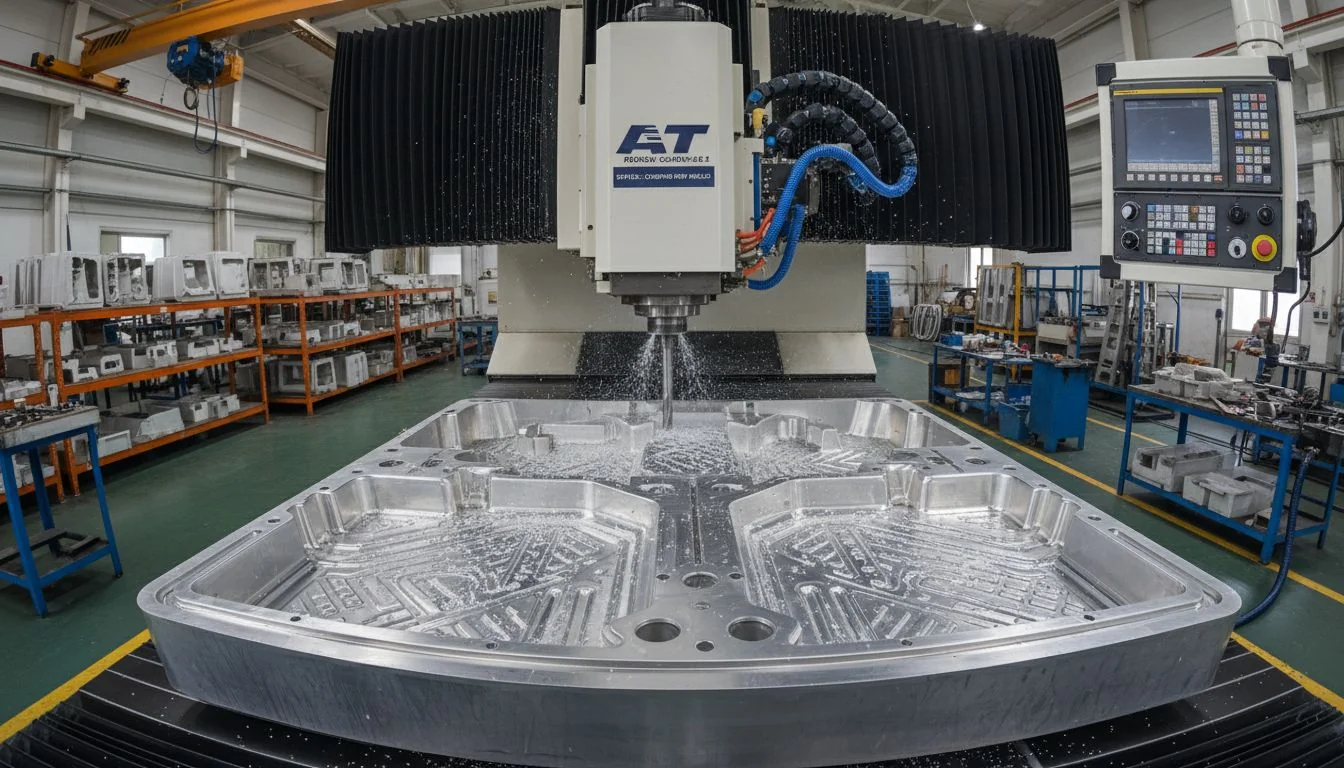
The mold is the heart of your product. For car mats, we usually use large steel blocks. The process starts with reverse engineering. We use a handheld 3D scanner to map the floor of the car. This gives us a "point cloud."
I then take this data into CAD software. I have to clean up the noise and build smooth surfaces. I also add the walls of the mat to hold water and dirt. This is where your design skills shine. You need to add draft angles (usually 3 to 5 degrees) so the mat can slide out of the mold easily.
Once the design is done, we send it to the CNC machine. The machine cuts the steel block to shape. After cutting, we might use EDM (Electrical Discharge Machining) for fine details like sharp corners or logos. Finally, the mold is polished to remove tool marks and then textured.
Mold Creation Workflow
| Stage | Description | Time Required |
|---|---|---|
| Scanning | 3D scan of vehicle floor | 1 Day |
| Design | CAD modeling and surfacing | 3-5 Days |
| CNC machining[^5] | Rough and fine cutting of steel | 10-15 Days |
| Assembly & Polish | Fitting parts and texturing | 5-7 Days |
| T1 Trial | First test shot | 1 Day |
You can design a car mat mold without scanning the car.False
Every car floor is unique; guessing the shape will result in a product that does not fit.
Draft angles are necessary for removing the part from the mold.True
Without draft angles, the plastic creates a vacuum and sticks to the mold walls.
Introduction of car mat mould
Understanding the tool itself helps you design better products. I will explain the anatomy of a typical car mat injection mold.
A car mat mold is usually a large, single-cavity injection mold made from durable steel. It features a hot runner system[^6] to ensure plastic flows evenly across the large surface area. The mold also includes cooling channels to solidify the material quickly and ejection pins to remove the mat.
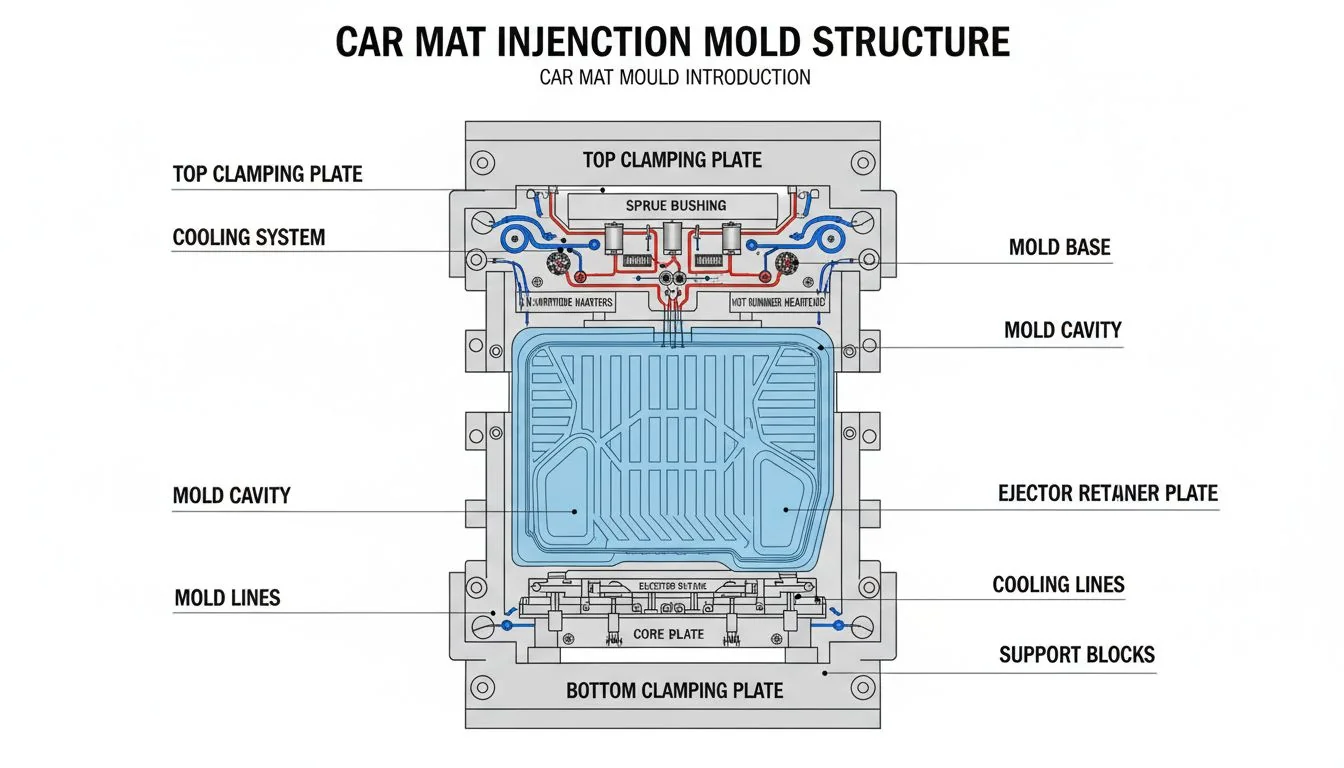
Car mat molds are big beasts. Because a car mat covers a large area, the mold is physically large and heavy. This means you need a large injection molding machine, often 800 tons or more, to clamp the mold shut.
Inside the mold, we often use a "Hot Runner" system. Since the plastic has to travel a long distance to fill the mat, a hot runner keeps the plastic molten until it reaches the cavity. If we used a cold runner, the plastic might cool down and harden before the mat is full, causing "short shots."
Cooling is also vital. We drill water channels through the steel. Cold water runs through these channels to take the heat away from the hot plastic. The faster we can cool the mold, the faster we can make the parts. This is called "cycle time." A shorter cycle time means cheaper production costs for you.
Key Mold Components
- Cavity & Core: The two halves that shape the mat.
- Hot Runner: Keeps plastic hot during injection.
- Ejector Pins: Push the finished mat out of the mold.
- Cooling Lines: Water channels to control temperature.
Car mat molds require small injection machines.False
Due to the large surface area, high tonnage machines (800T+) are needed.
Hot runner systems help fill large molds evenly.True
They maintain plastic temperature, ensuring the material reaches all corners of the large mold.
Conclusion
Developing car mats requires precise scanning, smart mold design, and clear communication with your factory. Follow these steps, and you will master the molding process effectively.
References
[^1]: Understanding the advantages of TPE and PVC can help you choose the best material for durability and flexibility.
[^2]: Understand the limitations and options for color selection to enhance your product's appeal.
[^3]: Explore the role of masterbatch in achieving the desired colors for your car mats.
[^4]: Explore how 3D scanning technology enhances accuracy in car mat fitment and design.
[^5]: Gain insights into how CNC machining shapes the molds that define your car mats.
[^6]: Learn how hot runner systems improve the efficiency and quality of the injection molding process.