
Featured image:
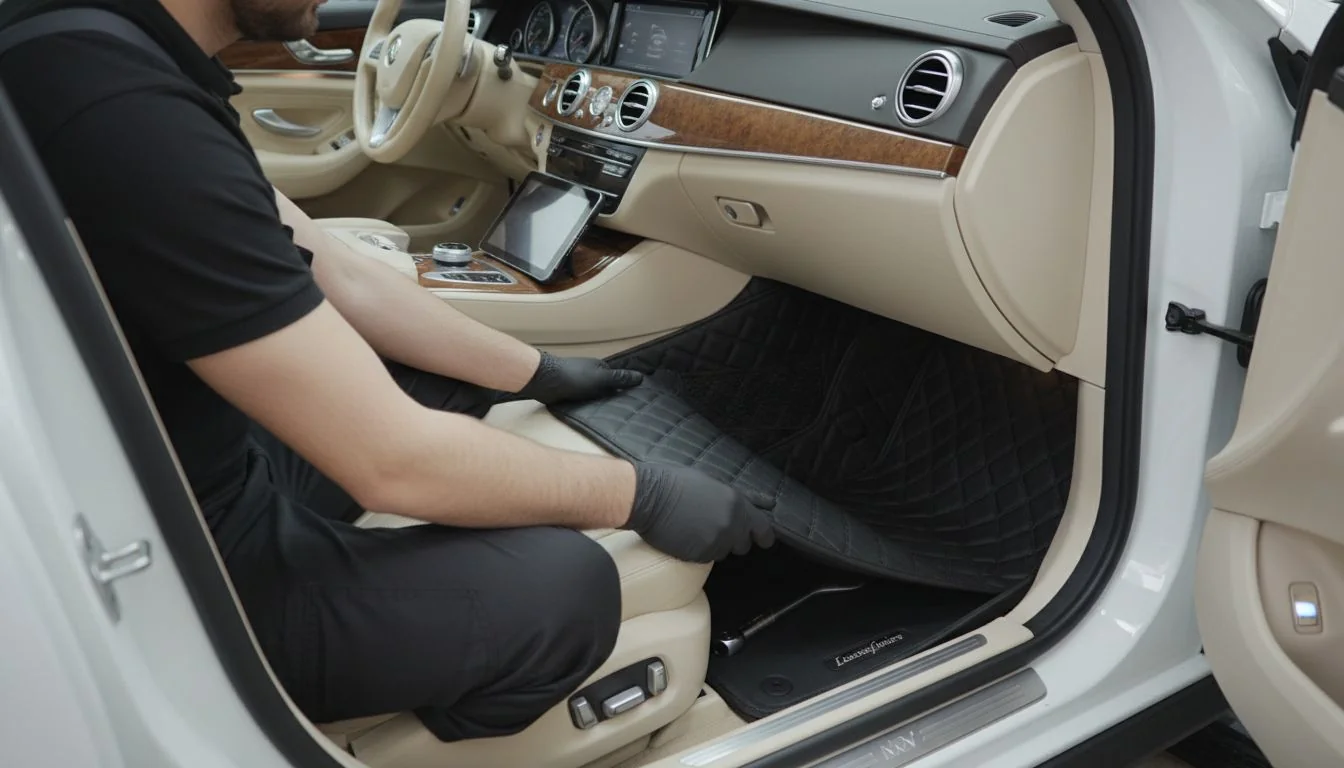
Loose floor mats are dangerous and look messy. You want a clean interior and safe driving experience, but generic instructions often fail. Here is the proper engineering approach to installation.
Remove all old mats before you start anything. Align the retention clips[^ 1] on the car floor with the mat's anchor points. Press down firmly until you hear a click or feel it lock. For custom molded mats, tuck the edges under the plastic trim for a seamless factory look.
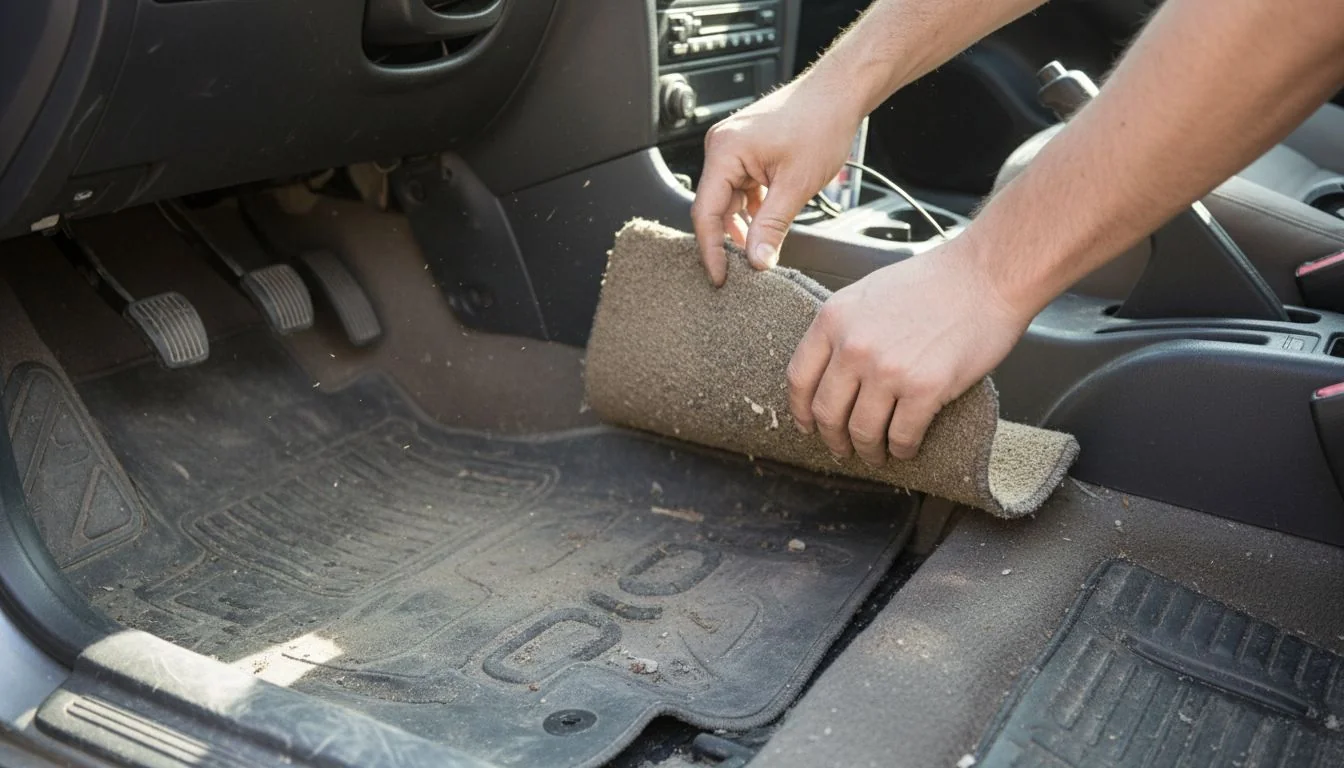
Many people think installing a mat is just throwing rubber on the floor. Tuttavia, as someone who understands mold design and precision parts, I know that fitment is everything. If you do not install these products correctly, the best design in the world will fail. We need to look at the specific mechanics of how these mats attach to your vehicle chassis.
You can install new floor mats on top of old factory mats for extra protection.False
Never stack floor mats. This causes the top mat to slide and can jam the gas or brake pedal, leading to serious accidents.
Most modern cars have specific retention anchors built into the floor.True
Manufacturers install hooks, posts, or clips on the floor pan to secure mats and prevent movement.
Does Every Car Require a Different Installation Method?
You cannot use a universal approach for precision parts. Every chassis has unique retention systems designed by engineers to keep the mat in place.
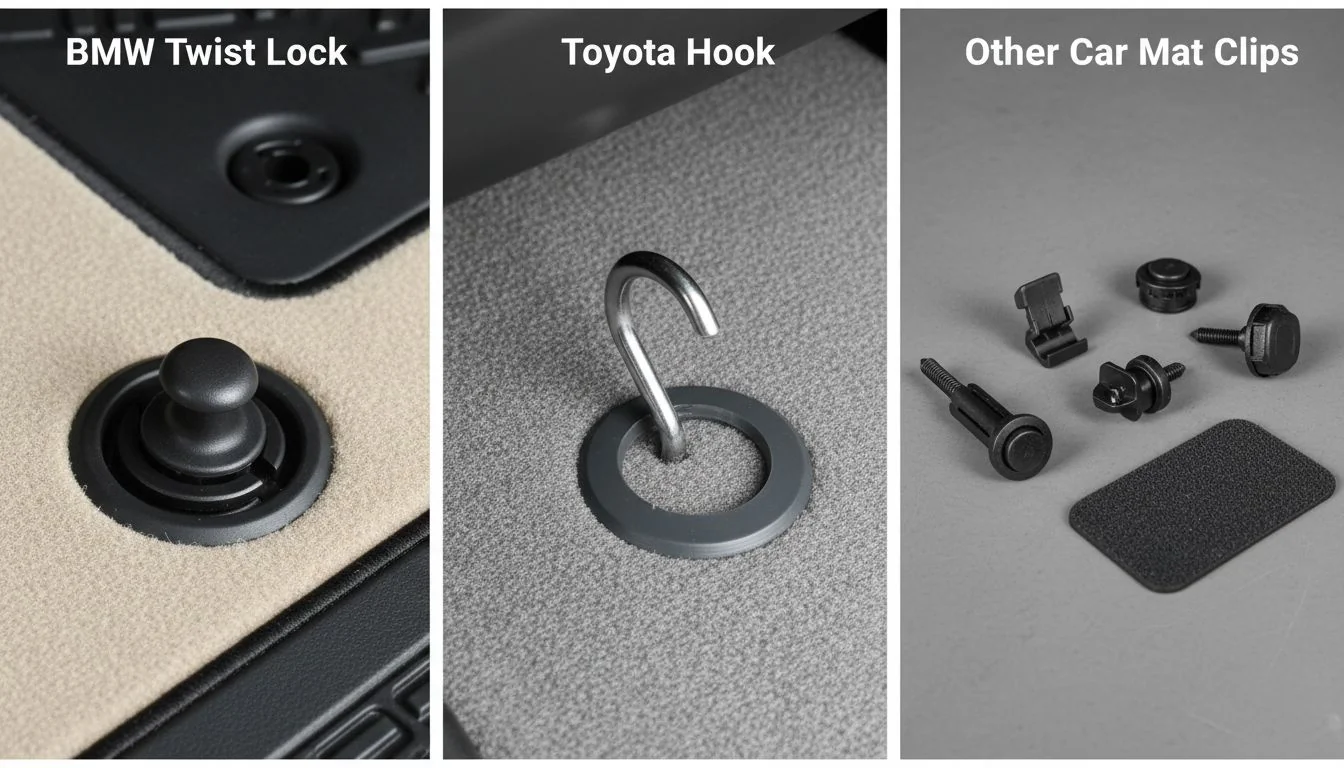
The installation varies significantly by manufacturer. German cars often use Twist-Lock[^ 2] anchors, while Japanese vehicles usually prefer hook systems. The floor contour dictates how the mat sits. Ignoring these specific attachment points compromises the safety and the aesthetic of the interior design.
I have spent years in the mold industry, and I look at car floors differently than most people. I see the "A-surface" and the tooling requirements. When a car manufacturer designs a floor pan, they decide on a specific retention system. This is not random. It is an engineering decision based on safety and assembly speed.
For example, European cars like Volkswagen or BMW often use a "Twist-Lock" or a "Post" system. You have to line up the oval hole in the mat with the turn-knob on the floor. Allora, you physically turn the knob 90 degrees. This is a mechanical lock. It is very secure.
On the other hand, Asian manufacturers like Toyota or Honda often use a "Hook" system. The hook is part of the floor mold or bolted in. You must slide the mat forward so the hook catches the eyelet. If you just drop the mat down, it will not engage.
American cars often use a simple "Snap" post. You push until it clicks. If you are a designer like Jacky, you know that tolerances matter here. If the hole in the mat is 1mm too small, it won't snap. If it is too big, it rattles. You must identify your car's specific system before you try to force the mat in.
| Retention Type | Common Region | Mechanism | Installation Action |
|---|---|---|---|
| Hook System[^ 3] | Asia / USA | Curved plastic hook | Slide forward to catch |
| Twist-Lock | Europe | Rotating oval knob | Align and turn 90° |
| Snap-Post[^ 4] | USA / Europe | Round vertical post | Press down to click |
| Velcro/Friction | Universal | Hook-and-loop backing | Align and press flat |
All car floor mats use the same universal clip system.False
Every manufacturer uses different retention systems like hooks, snaps, or twist-locks tailored to their specific floor pan design.
Identifying the retention type is the first step in proper installation.True
You must know if you need to slide, snap, or twist the mat to secure it properly to the floor.
What Are the Major Installation Techniques for Modern Vehicles?
Let’s look at the mechanics. We will break down the three most common anchoring systems you will encounter and how to handle them.
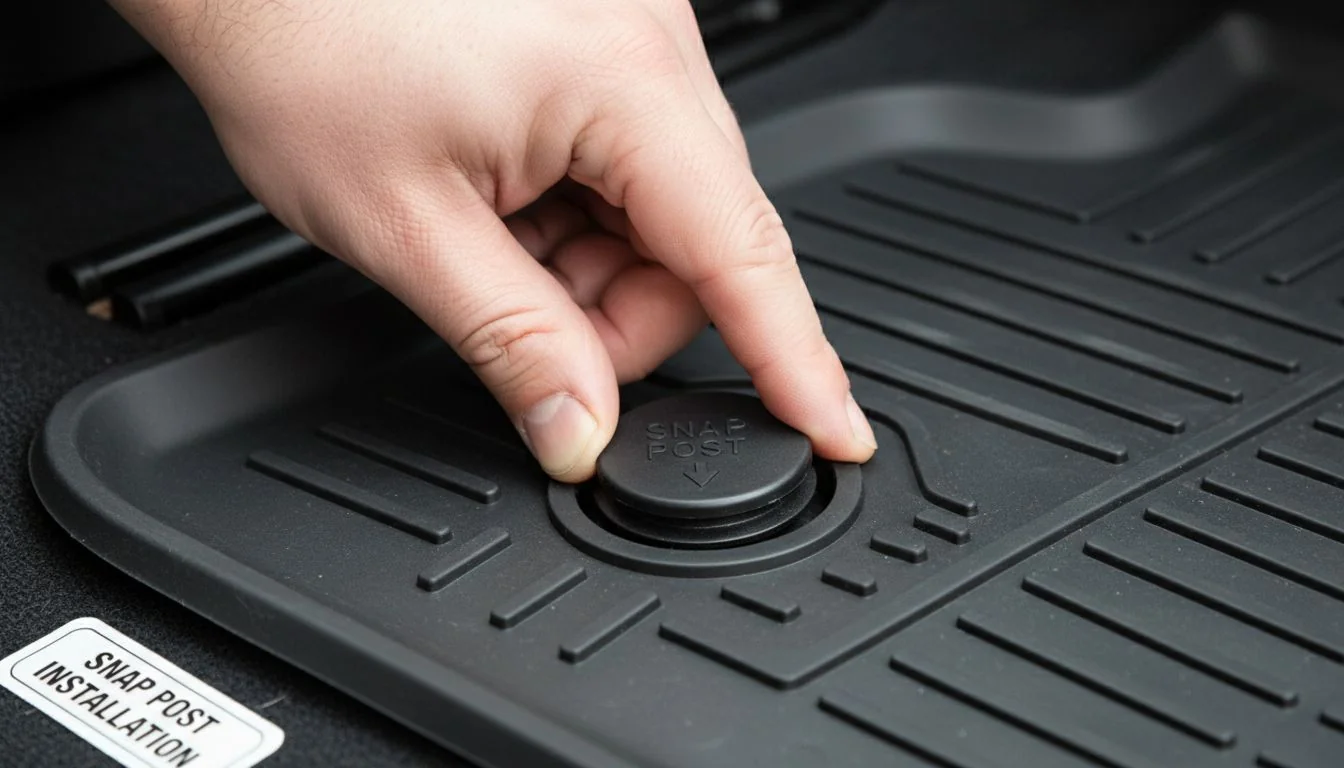
The three main methods are the Hook System, the Snap-Post System, and the Velcro or Friction System. Hooks require sliding the mat forward. Snap-posts need vertical pressure to lock. Velcro relies on high-friction backing and alignment to stay secure against the carpet.
Let's break down the actual physical movements required for these systems. As a mold expert, I appreciate the tactile feedback of a good installation.
The Hook Method:
This is common but often done wrong. You cannot just place the mat down. You must place the mat about one inch behind the hooks. Allora, you slide the whole mat forward. You should feel the hook enter the grommet (the hole). Pull back slightly. If it resists, it is locked.
The Snap-Post Method:
This works like a button on a jacket. Align the mat hole directly over the post on the floor. Do not angle it. Push straight down with your thumb. You must hear a distinct "click" or "pop." If you don't hear it, the internal ring hasn't grabbed the post.
The Custom Fit / 3D Mat Method:
This is where things get interesting for designers. Companies like Matjoy use 3D scanning to create molds that fit the exact sidewalls of the car. I have spoken with our experienced sales experts at Matjoy, and they emphasize that the fitment relies on the vertical walls, not just the clips. For these, you install the bottom first, then push the high edges against the center console and door sill. Sometimes, you need to use small plastic clips that slide under the plastic trim of the car. This holds the high walls in place. It creates a "bucket" effect that protects the carpet better than flat mats.
| Method | Step 1 | Step 2 | Step 3 |
|---|---|---|---|
| Hook | Remove old mat | Place mat 1 inch back | Slide forward onto hook |
| Snap | Align hole over post | Push down firmly | Listen for "Click" |
| 3D Custom | Seat the bottom area | Push edges to walls | Tuck under trim clips |
You should hear a click when installing snap-post mats.True
The audible click confirms that the internal retention ring has successfully engaged with the floor post.
3D custom mats only rely on floor clips to stay in place.False
3D mats also rely on the friction and precise fit against the sidewalls and center console to remain secure.
What Critical Details Must You Watch During Installation?
A poor install ruins a good design. Small mistakes lead to pedal interference or sliding mats, which can be very dangerous.
Always check for pedal clearance[^ 5] immediately after installation. Ensure the gas and brake pedals have full range of motion without catching on the mat edge. Verify that the retention clips are fully engaged and that the mat does not slide when you push it with your foot.
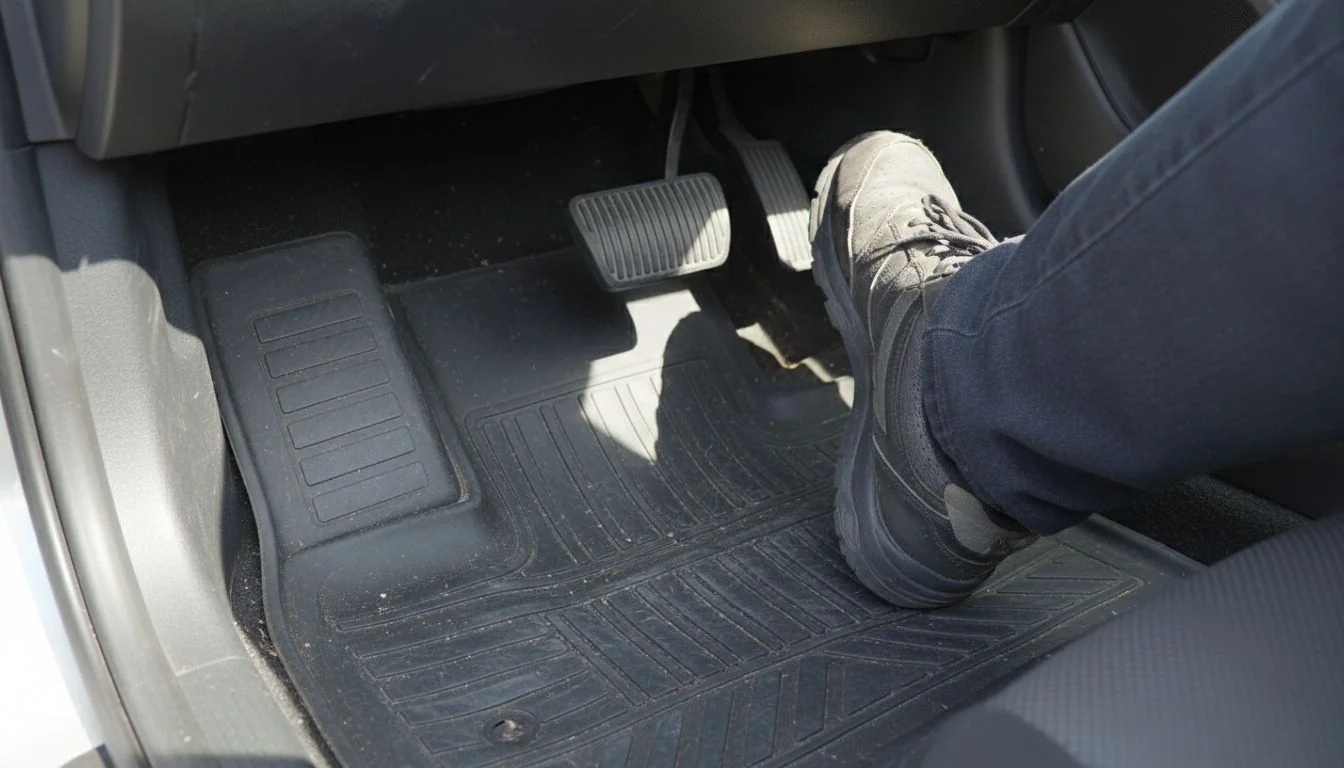
Safety is the number one priority in product design. When I design a mold, I think about failure points. In car mats, the failure point is the pedal area.
The "Double Stack" Error:
I see this all the time. People buy new all-weather mats and put them on top of the carpet mats. This is a huge mistake. The retention clips are not long enough to go through two layers. The top mat will slide. It can get stuck under the brake pedal or on top of the gas pedal. Always remove the factory carpet mats first.
Pedal Clearance Check:
After you install the mat, do not just drive away. With the car in "Park" and the engine off, use your hand to press the gas pedal all the way to the floor. Does it touch the mat? Does the mat lip catch the pedal on the way back up? If it touches at all, the installation is wrong, or the mat design is flawed.
material settlement[^ 6]:
If you buy TPE (Thermoplastic Elastomer) mats, they might be folded in the box. When you first install them, they might look bent. This is normal behavior for the material. Park the car in the sun for an hour. The heat will relax the molecular structure of the plastic, and it will mold itself back to the floor shape. If you try to force it when it is cold and stiff, you might break a clip.
| Inspection Item | Why it Matters | How to Check |
|---|---|---|
| Pedal Gap | Prevents stuck throttle | Press pedals by hand fully |
| Clip Engagement | Prevents sliding | Pull mat backwards firmly |
| Edge Fitment | Prevents dirt entry | Check for gaps at door sill |
| No Stacking | Ensures clip function | Verify bare floor under mat |
It is safe to test pedal clearance while driving on the highway.False
Always test pedal clearance with the engine off and the car in park to avoid accidents.
TPE mats may need heat to return to their original shape after shipping.True
Thermoplastic materials relax and conform to the floor better when exposed to warmth.
Cunclusioni
To install mats correctly, remove the old ones first. Identify your clip type, align the anchors, and ensure the pedals move freely. This protects your car and keeps you safe.
References
[^ 1]: Understanding retention clips is crucial for ensuring your mats stay securely in place, enhancing safety and aesthetics.
[^ 2]: The Twist-Lock system is a secure method used in many European cars, ensuring mats stay firmly in place.
[^ 3]: The Hook System is a common installation method; knowing how it works ensures a proper fit and safety.
[^ 4]: Understanding the Snap-Post system is essential for a successful installation, ensuring mats are securely locked.
[^ 5]: Ensuring proper pedal clearance is vital for safe driving, preventing potential accidents caused by mat interference.
[^ 6]: Understanding material settlement helps you properly install TPE mats, ensuring they conform to your car's floor.